I tried Cyspera, and here's what happened...
This clinical-grade, three-step system for dark spots and other unwanted pigment is no joke.
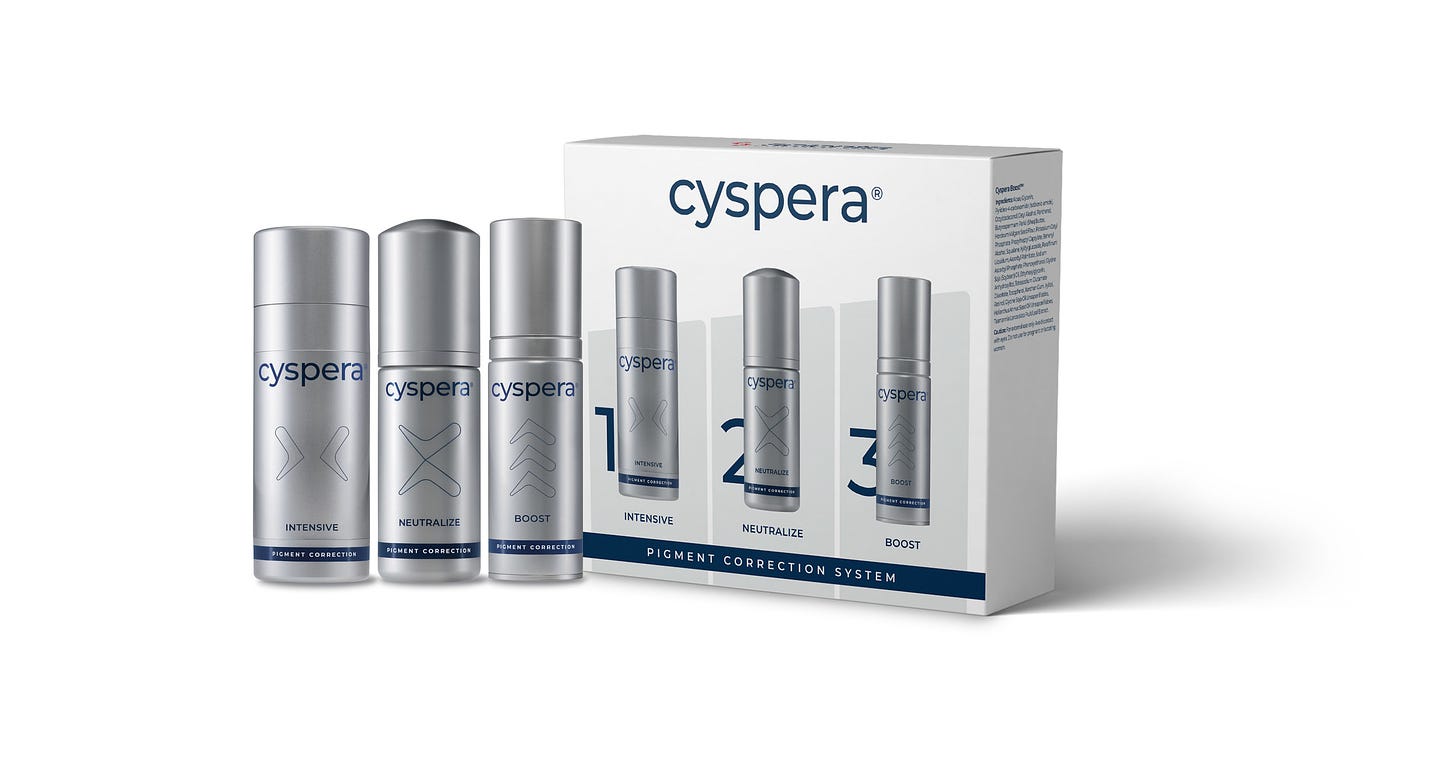
I recently accomplished a rather Herculean feat (at least for me): Sticking to a very strict, minimalist skincare routine for four weeks. Why? Because I’m totally due for a professional resurfacing treatment and I’ll try anything I can get my hands on to delay it. The star of this month-long endeavor was the Cyspera Intensive System, and it represents an entirely different way to improve stubborn discoloration.
Available exclusively through dermatologists, this three-step system is clinically proven to provide faster and more effective improvement for dark spots and brown patches than the usual prescription-based topical go-tos (i.e., retinoids, hydroquinone and corticosteroids)—without the irritation or side effects.
Though ideal for melasma-like brown patches and dark spots caused by sun damage and post-inflammatory hyperpigmentation (PIH) in all skin tones, the Cyspera system works especially well for melanin-rich skin, which has been traditionally much more difficult to treat and at risk for hypopigmentation (which is a visible loss of skin pigment).
Now for the scientific part (don’t worry, I’ll take it easy on you)… An ingredient called cysteamine (which is found naturally in all human tissues, including breast milk) has been used as a skin-discoloration treatment for about 50 years thanks to its ability to interfere in several steps of the pigment-production process and its potent antioxidant activity. Cyspera found a way to amplify cysteamine’s skin-brightening effects by combining it with other potent ingredients in three separate products that work synergistically to deliver visible improvement in as little as two weeks.
Step 1: Cyspera Intensive
This dual-chamber pump has Cyspera’s proprietary Cysteamine Isobionic-Amide Complex (essentially a super-charged niacinamide) on one side and an alpha-hydroxy blend on the other. (The two are kept separate until the moment they are applied to preserve their potency.)
Step 2: Cyspera Neutralize
Although this “cleansing” foam features lactobionic and amino acids, its main purpose is to stop Step 1’s action on the skin, remove any lingering product, soothe the skin and restore the skin’s barrier.
Step 3: Cyspera Boost
Think of this step as your all-day (and night) treatment. It combines the Isobionic-Amide Complex, cysteamine, retinol, vitamin C and plenty of antioxidants to inhibit pigment formation, prompt the production of fresh, non-pigmented cells and promote the skin’s natural exfoliation process to allow the shedding of discolored cells.
You may be thinking, I can handle three steps… You’re definitely right, but there’s a bit more to the story. Step 1 must be left on for 15 minutes—every time you use it (although you can start with five minutes if you have sensitive skin). But, you just slather it on dirty skin, so you save a minute or two since you don’t need to wash first. I was initially concerned about this time commitment, but I found several ways to make this happen.
First thing in the morning after putting in my contacts and brushing my teeth. I’d use the 15 minutes to check my email or make breakfast/lunch for my son.
After working out (before showering).
In the evening as an extension of my usual skincare routine.
For the record, I used the Cyspera system on my face, neck and chest. (If you want to go this route, definitely invest in a spa wrap like this. In fact, you should have one of these even if you don’t try Cyspera.)
After your 15 minutes are up, you massage two pumps of the Neutralize foam into your face, rinse and pat your skin dry. Then comes Step 3, which you apply like any other serum or treatment before at least SPF 30 (although I’d recommend going with SPF 50).
A few more tidbits to consider… You cannot use any other active ingredients while using the Cyspera system. The Step 1 instructions specifically say to apply to unwashed skin, but if you need to wash again throughout the day stick with something gentle like Cetaphil. If you feel your skin needs more moisture, go with an ultra-basic product like CeraVe cream.
OK, there’s one more thing. Step 1 has a “smell.” Cyspera does a really good job of masking it (and apparently the new Intensive formula smells about 1000% times better than its predecessor). At a few points I found myself smelling like I was perming my face—but neither my husband or my son ever said anything (and they pick up on everything). If you’ve ever tried SkinMedica’s TNS Serum and didn’t have an issue, you should be fine.
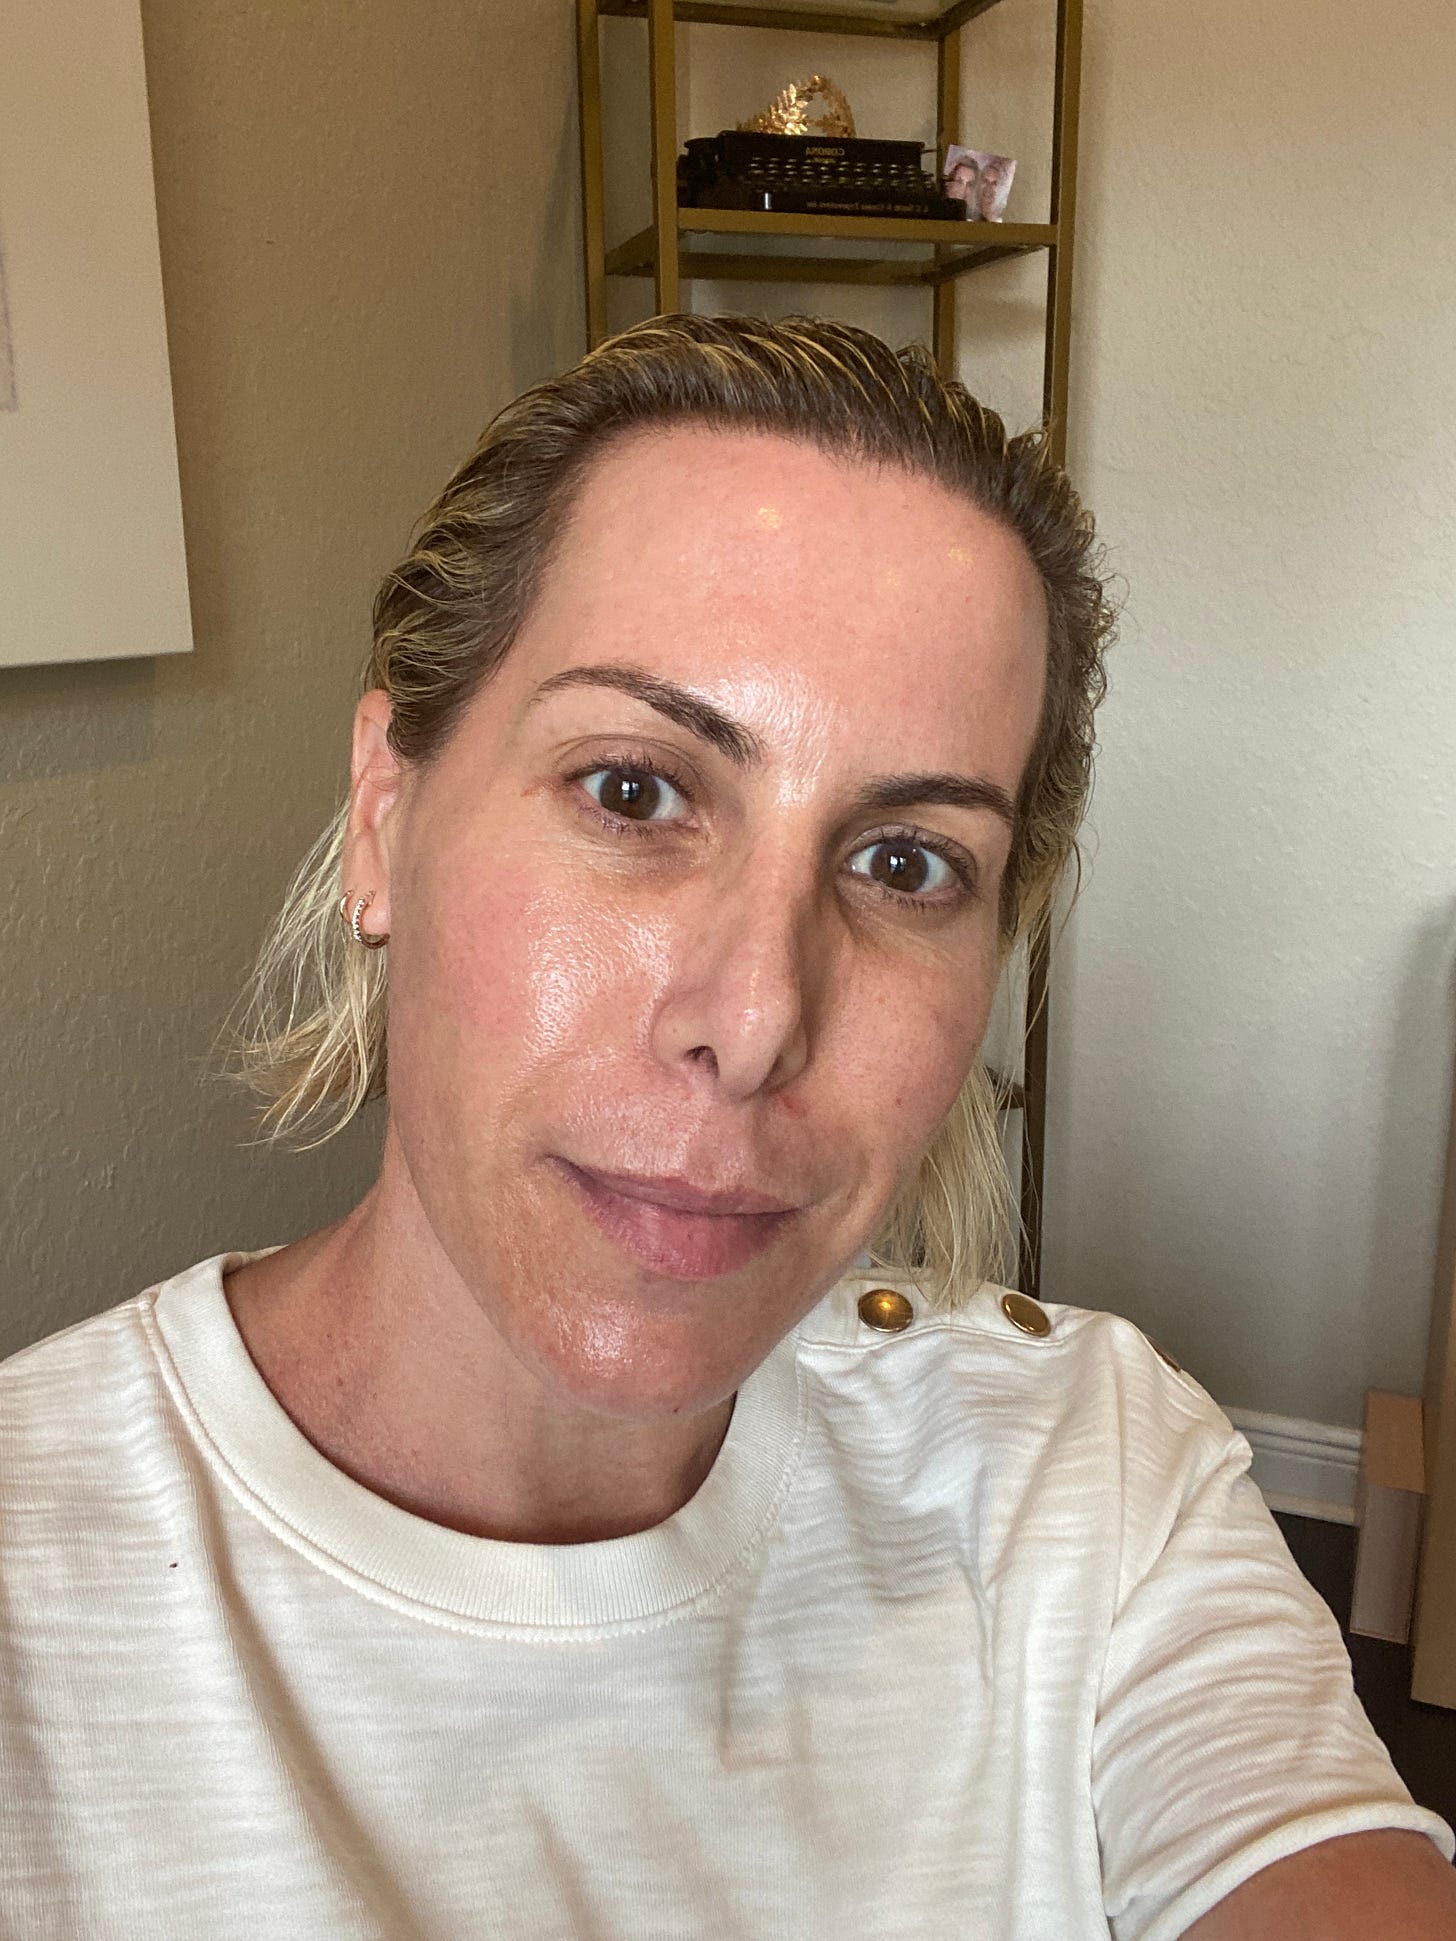
You’ve made it this far, so you’re probably wondering about the verdict. Cyspera is a winner! I definitely noticed an overall brighter, healthier-looking complexion by the two-week mark, with absolutely no irritation or any other side effects. Now that I completed my four weeks, I only have to use it twice a week to maintain the results.
At $265, this regimen is somewhat of an investment—but I’m here to tell you that it works. The products are available individually if you just want to dip your toes in the water (but this means going with Step 1 and 2, or just Step 3). Long story short, if you find yourself wanting more even-toned skin, and are unsatisfied with the results you’re seeing from your current efforts, definitely give Cyspera a try. The extra 15 minutes a day are worth it.
Did you enjoy today’s post? If so, show that little heart below some love! And if you’d like even more beauty intel (or just want to say “thanks” for the scoop), upgrade to a paid subscription!


